Splitting a class into groups by hand has three failure modes, all of them familiar: you forget someone, the groups come out wildly unequal, and everyone somehow knows you built them in order. Randomization fixes all three — but only if you configure it correctly.
The Group Maker handles the shuffling and balancing. This guide covers choosing the right mode and the settings that make the result genuinely fair.
Choose the Right Split Mode
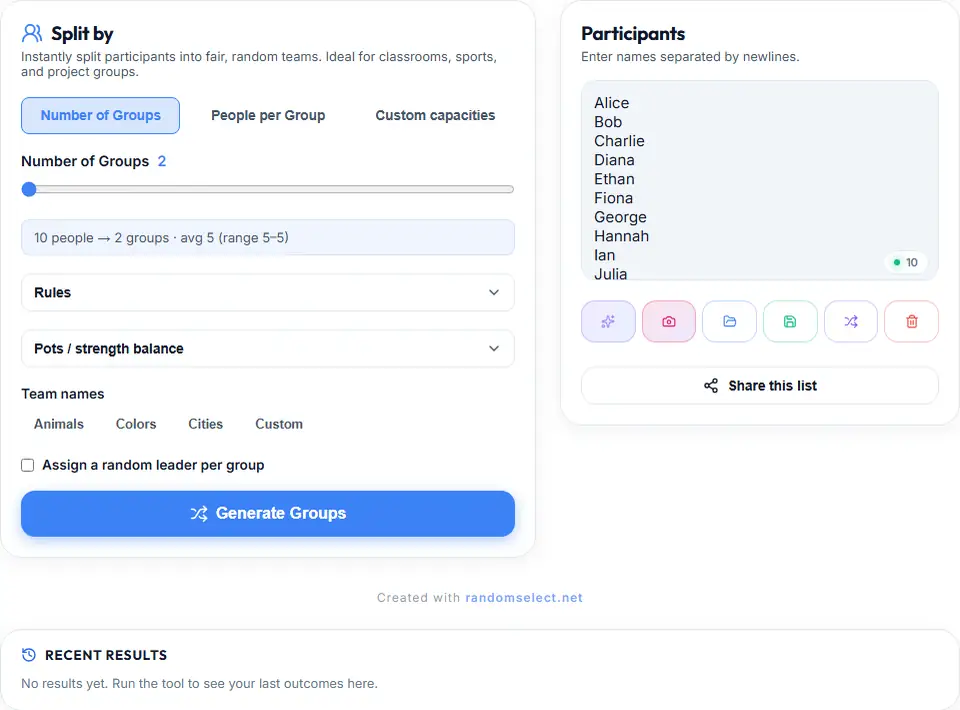
There are two ways to define a split, and picking the wrong one is the most common mistake.
Mode 1: Number of Groups
You say how many groups. The tool divides evenly.
Use when: you know the group count and can accept uneven remainders. 30 students into 5 groups gives exactly 6 each.
Don’t use when: you need exactly 4 people per group and the count of groups would vary.
Mode 2: People per Group
You say how many people land in each group. The group count is calculated for you.
Use when: every group must be the same size — 4 per group, project teams of 5, breakout rooms of 3.
This is the default choice for classroom work. A student left in a group of three because 29 doesn’t divide by 4 is the kind of thing that gets remembered.
The Balance Rules That Matter
Even distribution isn’t automatic with a random shuffle, so the tool offers rules that correct the imbalance.
Random (default)
Pure shuffle. Fair in the mathematical sense, but it can produce groups differing by one or two people — or, occasionally, a group noticeably smaller than the rest.
For casual games this is fine. For a graded project where workload is judged, it isn’t.
Pots / Strength Balance
Participants are dealt into “pots” so group sizes stay within one of each other, then distributed. The result is always near-even, and the randomness is preserved — it just can’t produce an unfair split.
Use for: graded work, projects with shared deliverables, anything where someone will check the headcount.
Sequential
Preserves the original list order and cycles through groups. Not random at all — it’s for when you need to distribute in roster order, such as lab partners rotating across a term.
Choosing Team Names
The tool can name the groups for you: Animals, Colors, Cities, or Custom.
Named groups matter more than they sound. “Group 1” and “Group 2” create an ordering; “Otters” and “Falcons” don’t. Named groups also make it easy to refer to a group later — “the Falcons’ presentation” instead of “the second one.”
Use Custom when the project has its own structure — theme names, project codenames, table numbers.
Assigning a Random Leader
There’s an Assign a random leader per group toggle. It picks one participant from each group as leader.
This isn’t cosmetic. Groups of students with no designated leader tend to either wait for a volunteer or quietly let one person decide. Assigning it randomly distributes that informal authority across the class instead of concentrating it on whoever speaks first.
Step-by-Step
- Build the roster. Type it, paste it from a spreadsheet, or import a photo of the class list — then read the photo import carefully.
- Verify the count. The panel shows the entry count. Confirm it matches your roster before generating. A missing student can’t be added after groups exist.
- Pick the mode. Number of groups, or people per group.
- Pick the rule. Pot balance for anything graded; random is fine for games.
- Name the teams. Preset or custom.
- Toggle leaders if the work needs them.
- Generate Groups.
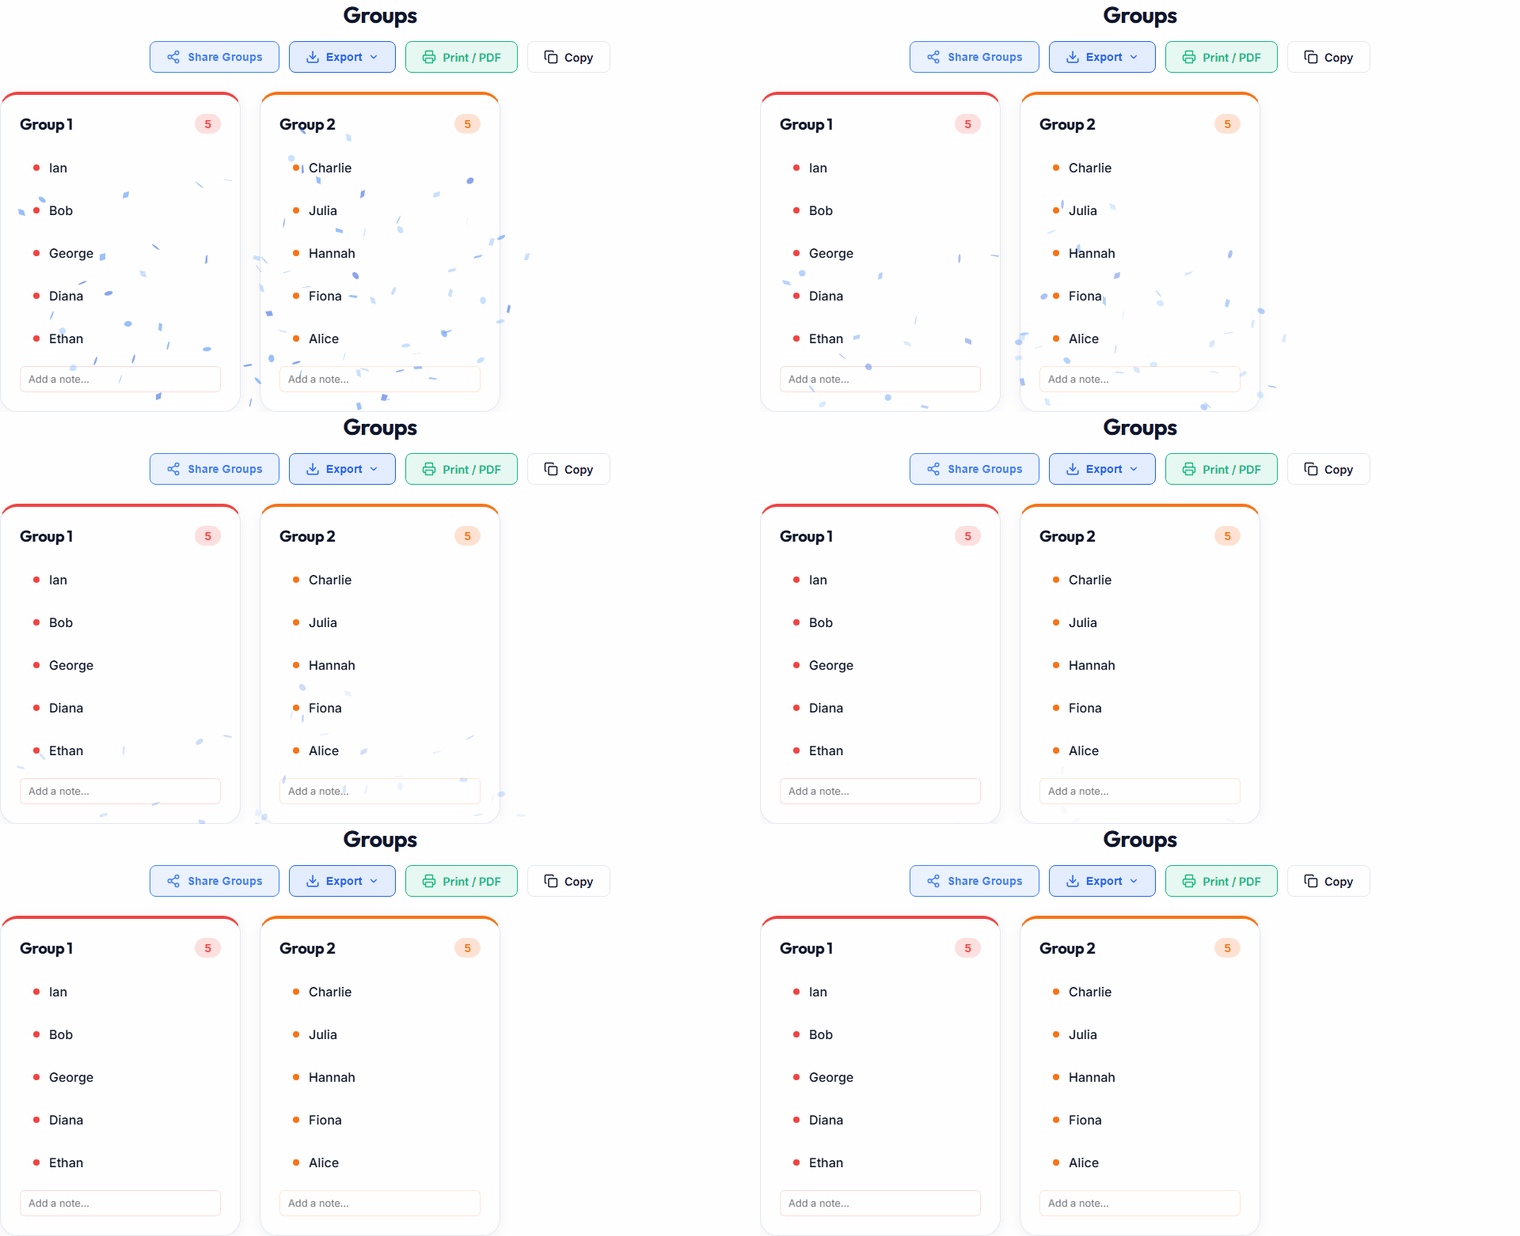
The result shows each group as a colour-coded card with headcount badges, so imbalances are visible immediately.
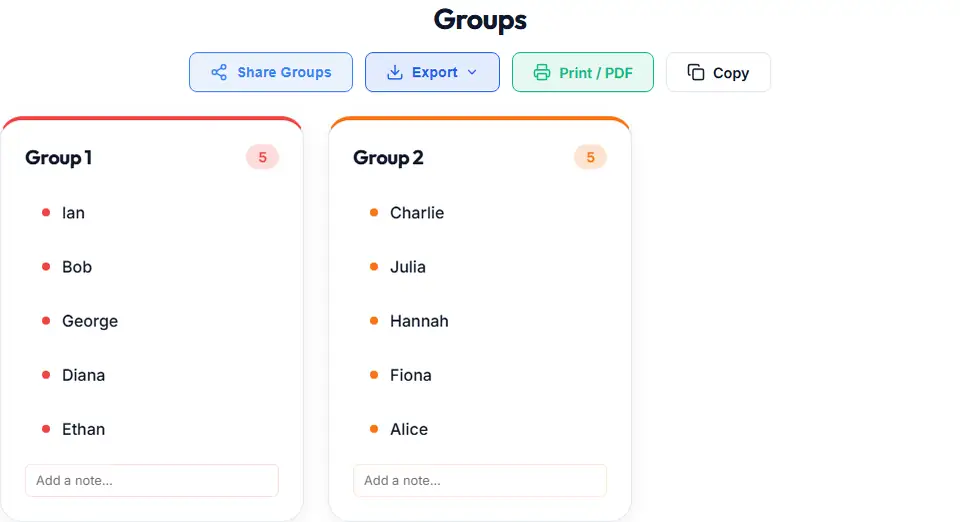
After Generating
Four actions sit above the results:
- Share Groups — generates a shareable link with the groups encoded in the URL
- Export — downloads the split; useful for posting in a group chat
- Print / PDF — produces a handout with one column per group
- Copy — plain text for pasting into a message
The Share Link
The share link encodes the participant list and the generated grouping. That means the result is reproducible — anyone with the link sees the same groups you did. Use it when people will question the outcome; it removes “you changed it after” from the conversation.
The list travels in the URL, so don’t share links containing names you need to keep private.
Re-running Without Looking Biased
Sometimes a split is genuinely bad — one group has all the strong participants, or a pair who shouldn’t be together ends up together. The fix:
Re-roll openly. Click Generate Groups again and announce that you’re re-rolling, with the reason. Randomization means a new split is equally fair — there’s no hidden “correct” answer to preserve.
What undermines confidence isn’t re-rolling. It’s re-rolling quietly and showing only the result people liked.
Checklist Before You Start Group Work
- Roster count matches the real number of participants
- Mode matches your actual constraint (size or count)
- Balance rule set for graded work
- Teams named
- Leader assignment decided
- Share link saved if the result may be questioned
Ready to split? Open the Group Maker, paste your roster, and generate.
RandomSelect.net — fair splits in one click.